Need help in creating a print book in IngramSpark, but feel a bit overwhelmed? Don’t worry, I have you covered. I created four books earlier this year, but when I went back in to start a fifth, I decided to document the process to make it easier for me and for any other indie authors. Hope this documentation helps you!
Step 0:
Before you start the process in IngramSpark, be sure that you have a finished book: it’s been proofed (through a proofreader and/or using a proofreading tool like ProWritingAid) and your book is properly formatted for print using software such as Vellum.
Step 1:
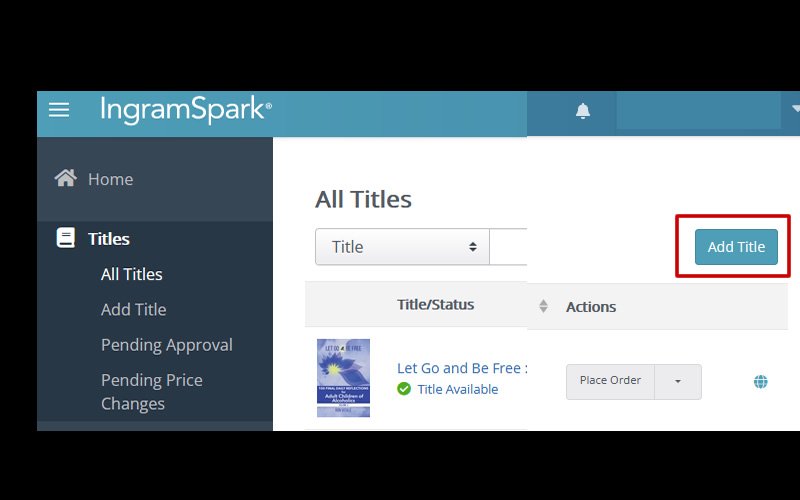
Log into IngramSpark and click on the “Add Title” button:
Step 2:
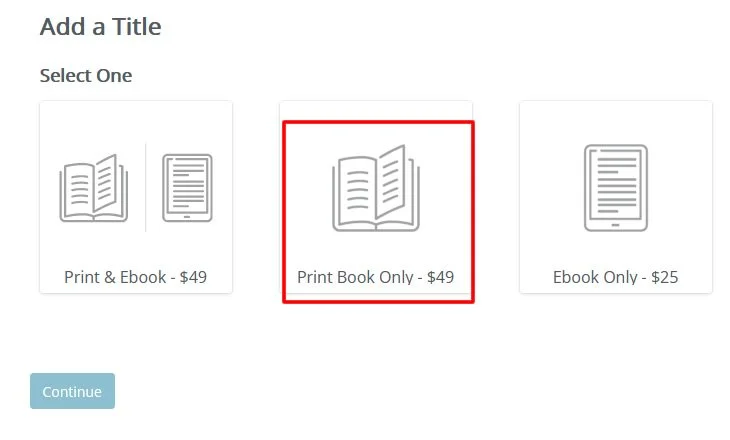
Select the “Print Book Only - $49” option and click on the “Continue” button:
Step 3:
Select the “Yes, all my files are ready” option and click on the “Continue” button.
You’ll need handy:
Cover PDF file
Formatted manuscript as a PDF
ISBN #
Number of pages in your book

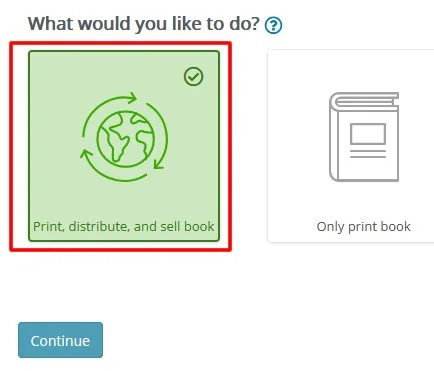
Next select the “Print, distribute, and sell book” option and click on the “Continue” button:
Step 4:
On the next page, fill in your title, language the book is in, the Print ISBN #, and whether you hold all the necessary publishing rights (when you select the “I own the copyright option..”, a pop up will appear and ask you to confirm that you don’t have any copyright infringement issues).
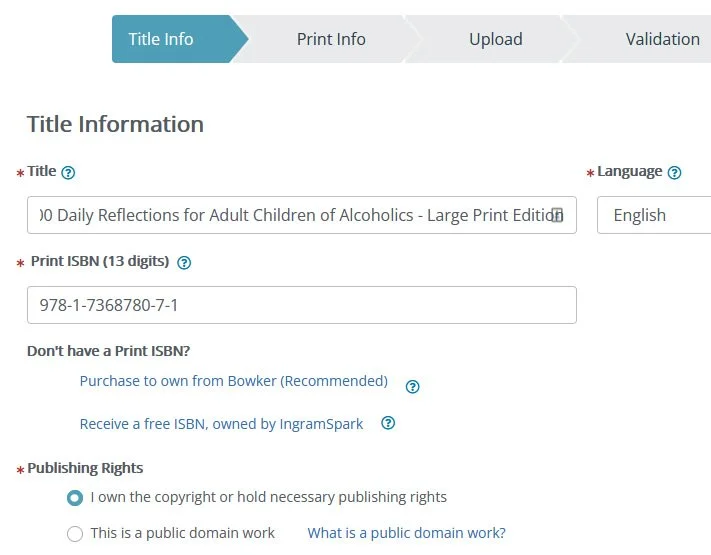
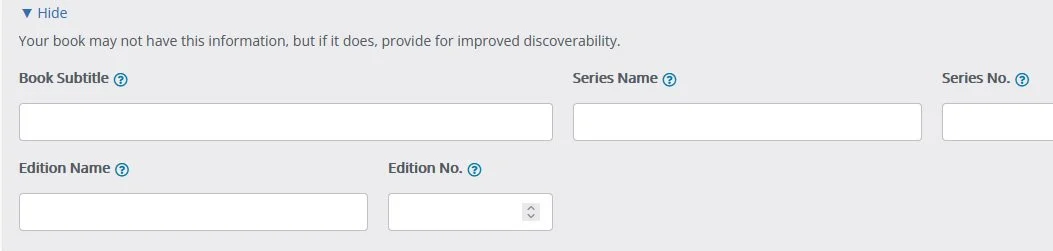
Next click on the “Show more fields” link and complete the fields:
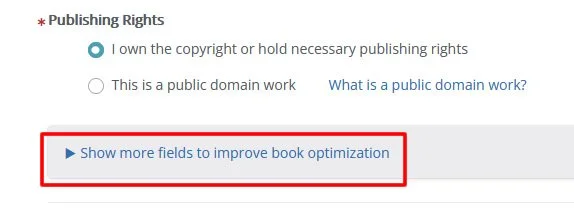
If your book doesn’t have these fields, skip this section and move on.
Step 5:
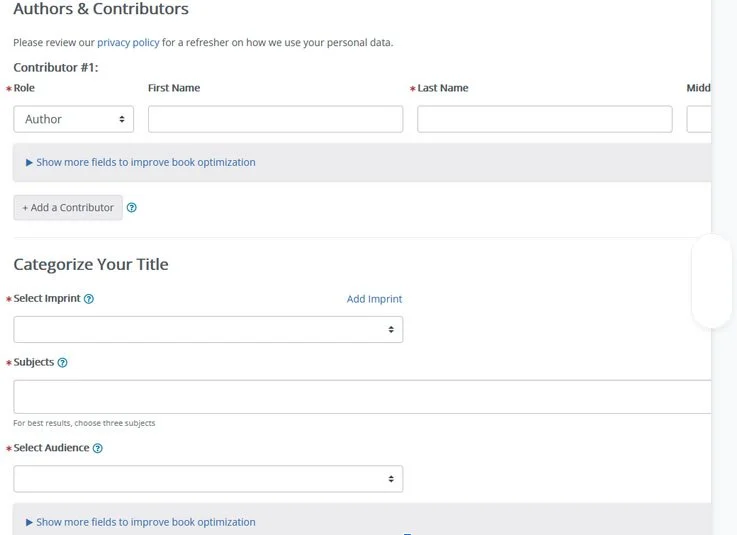
Next complete the “Authors & Contributors” section and also add your subjects, description, and keywords.
Step 6:
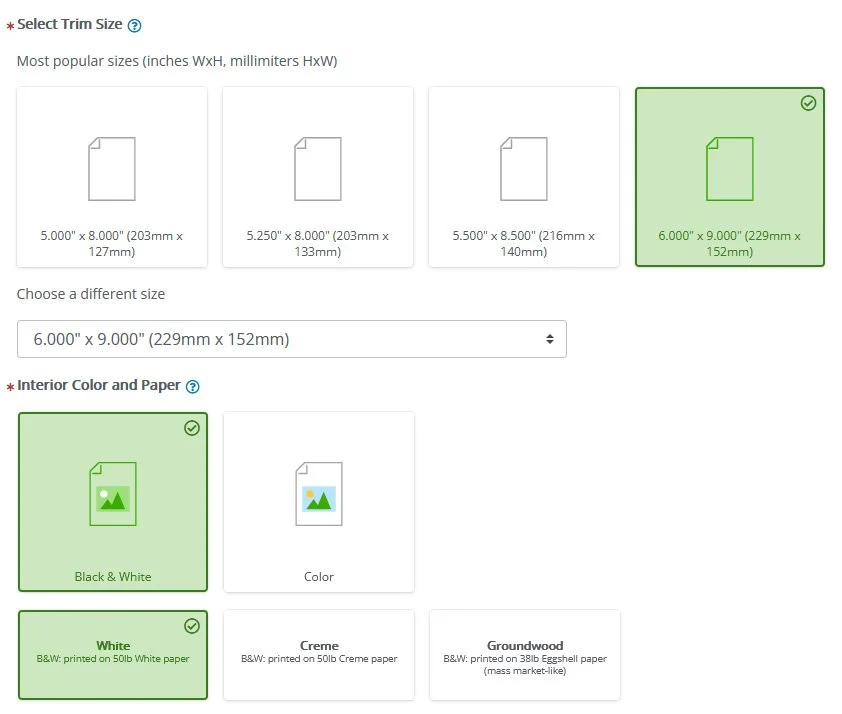
On the Print Information page, select your trim size along with the interior color and paper. In the example listed below, I selected 6” x 9” and chose black & white for the interior with white colored 50lb. paper.
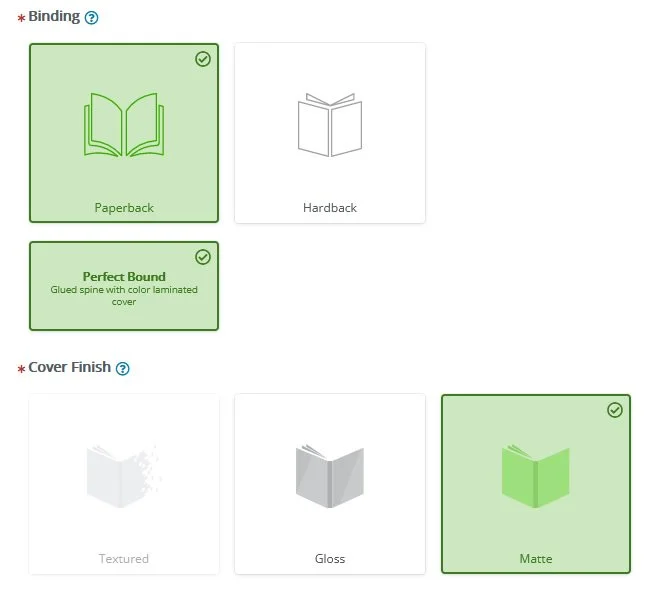
Next on the page, select your Binding options. In the example shown, I selected paperback, perfect bound, and a matte cover:
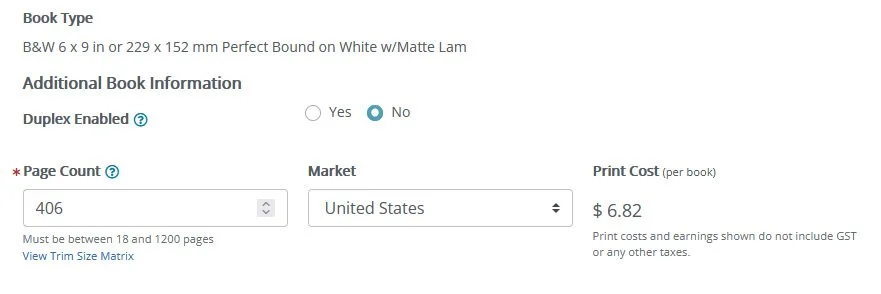
In the Book Type section, select “No” for “Duplex Enabled” (unless you wish to print on the inside cover of your book), add in your page count, and which market. You’ll then be given the print cost for your book.
Step 7:
In the “Print Pricing” section, select your wholesale discount, whether you accept returns, and your retail price. When completing this section, I select the 55% discount as that is the standard that retailers expect, and I always select “No” for returns (you’re warned that by selecting this option that some retailers may not wish to purchase your books). For pricing, I try to set my compensation to be at least $2.
Note: Pamela Kelley shared her story in the Wide for the Win Facebook group in December 2021: She was hit with more than 1,800 returns in IngramSpark for a Christmas book published in December 2020. She discovered that Amazon over ordered the book and then returned 1,800 copies to IngramSpark. Pamela had thought she had sold all those copies and then was hit with the bill for the 1,800 copies.
Many bookstores won’t buy your book unless you accept returns, but I’d rather not have to take a potential hit for a massive return—especially in learning that Amazon is using IngramSpark to order books (even if you have a print version through Amazon). Do your research and be aware of a potential hit in returns if you choose to accept book returns in IngramSpark.

Step 8:
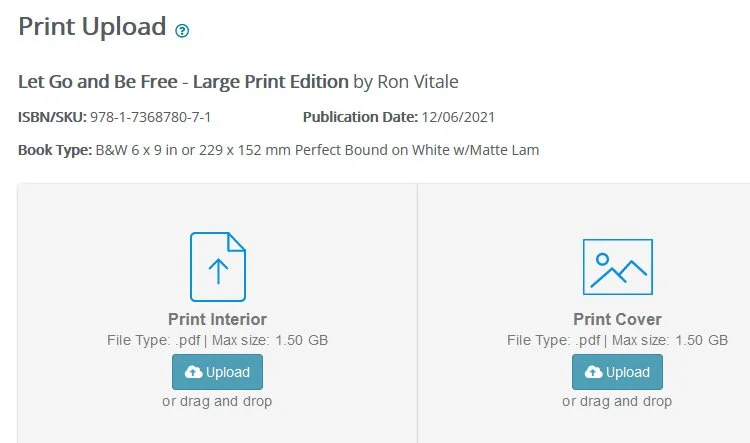
Upload your formatted book file as a PDF and the PDF cover.
If you do not have a formatted PDF book file, read my step-by-step instructions on how to format your book using Vellum (either on a Mac or PC).
And if you don’t have your cover yet, be sure to use the IngramSpark Cover Template generator and share that PDF template with your cover designer.
Tip: Remember to update the ISBN number inside your completed format book file before you upload it to IngramSpark. If you used an Amazon ISBN #, you’ll need a new ISBN # for the IngramSpark version of your book.
Step 9:
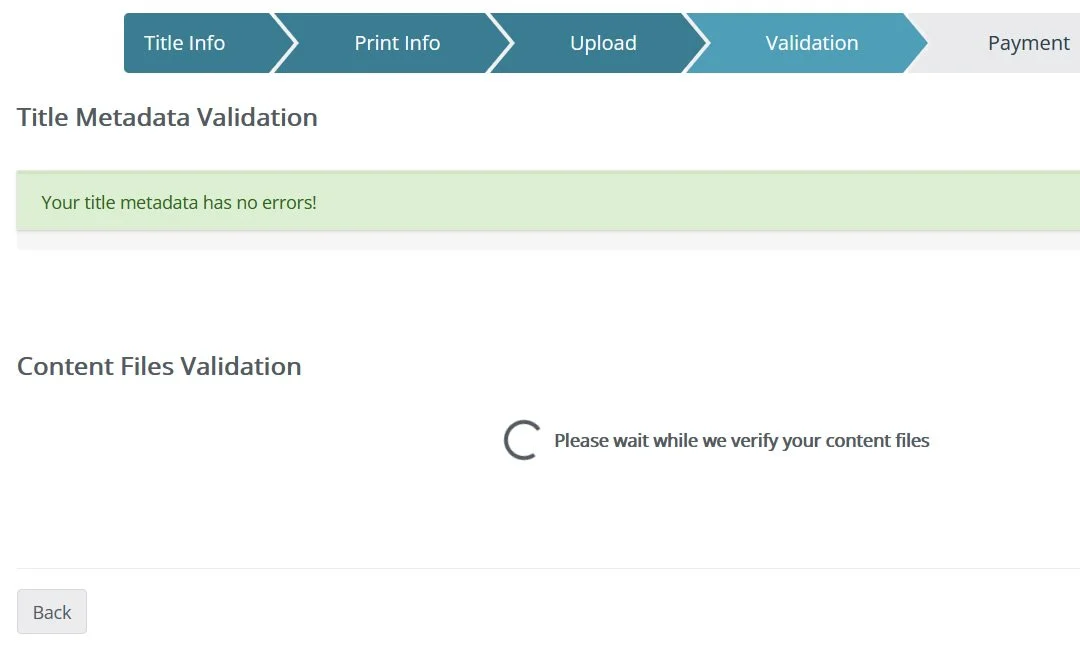
Once you upload the interior of your book and the cover, click on the “Continue” button on the bottom right and your files will go through a validation process.
Step 10:
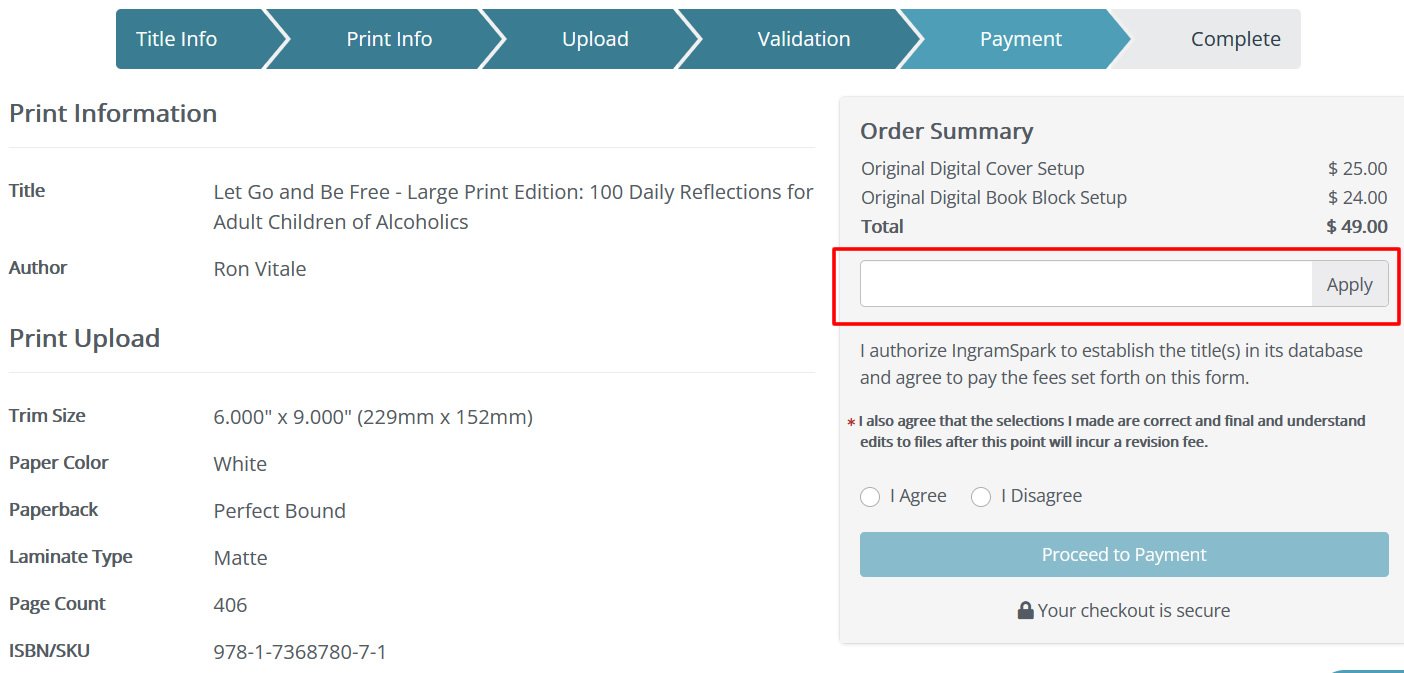
Once your files have been validated, you will need to pay to have your book created with IngramSpark. The cost is $25 for the digital cover setup and $24 for the digital book block setup (total of $49). If you have a coupon code, you can apply it here.
Note: If you are a member of the Alliance of Independent Authors (ALLi), you can log into their website and get a unique coupon code worth $49 that you can use up to 5 times per month. So each month you’ll get a different coupon code that can be used up to 5 times on IngramSpark.
Once an ALLi member, you can find your coupon code in the "Approved Services" section of the ALLi website on the "Discounts & Deals" page (in the Production/Distribution section).
At the time of this writing, the yearly cost of the author class for an ALLi membership is $119. If you’re looking to create more than 3 books on IngramSpark, you’ll easily make your money back. Not having to pay $49 each time you create a book in IngramSpark is well worth the cost of an ALLi membership, plus you’ll get all the other ALLi membership benefits.
Tip: If you need to make any changes to your book, IngramSpark charges $25. However, if you have an ALLi coupon code, the cost is reduced to $0.
After you pay the IngramSpark fee, your finished and will see the following completed screen:
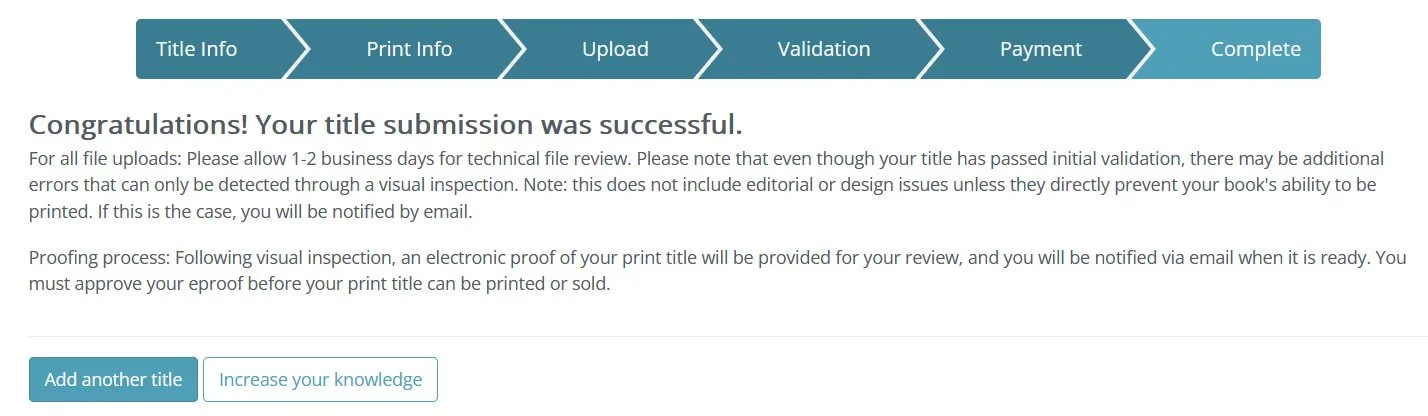
A few things to remember: Once you’re completed the process, your book needs to go through a technical review. It took 4 calendar days for me to receive an email letting me know that the electronic proof of my books was ready for review. Once you review and approved, your book can then be purchased.
And that wraps up the entire process! Save this guide as it will make things a lot easier for you when you need to go back and create another IngramSpark version for your book.
Once you finish all these steps, your submission will be complete and it’ll take some time for your book to become available (a technical review typically takes 1-2 days). Remember, if you need to make changes on your book, you’ll need to pay a fee to IngramSpark (unless you have a code as I did with the Alliance of Independent Authors). Good luck!
Please note that there are affiliate hyperlinks used on this page and that I receive a small percentage of sales if you choose to purchase. I only recommend items that I have found helpful and useful, and am passing them on to you to help. Thank you!